This post first appeared on The Children’s Museum of Indianapolis blog, as part of the Blog Ambassador Panel series.
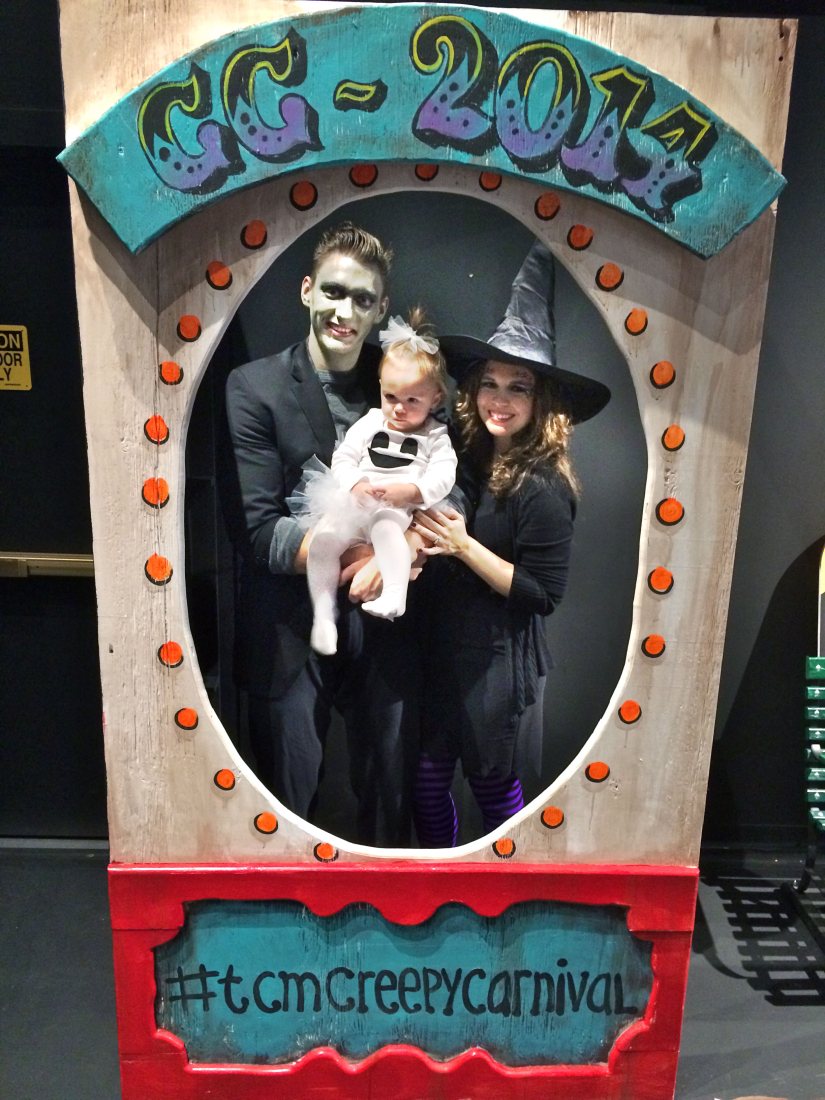
Halloween is quickly becoming the Cotten family’s favorite holiday. Last year at this time, we were anxiously awaiting our daughter’s arrival (she missed being a pumpkin baby by just a few hours!) This year, we’re honoring her first birthday with a month full of fa-BOO-lously spooky activities. Because what one-year-old doesn’t love The Children’s Museum Guild’s Haunted House, Creepy Carnival?
Last weekend we dressed in our best “classic monster” garb, and headed to the Black Hat Bash to kick off our celebration. The museum did not disappoint in their festiveness—even the dinosaurs outside were in costume! Our little ghost loved checking out the other kids’ get-ups, and even had a chance to haunt the Playscape in between bites of Blondie’s Cookies. Our favorite part of the evening was getting a sneak preview of the Haunted House, which was delightfully creepy even with the lights on! It was the perfect amount of scary and friendly for our toddler (and for this easily-frightened mom and dad!)
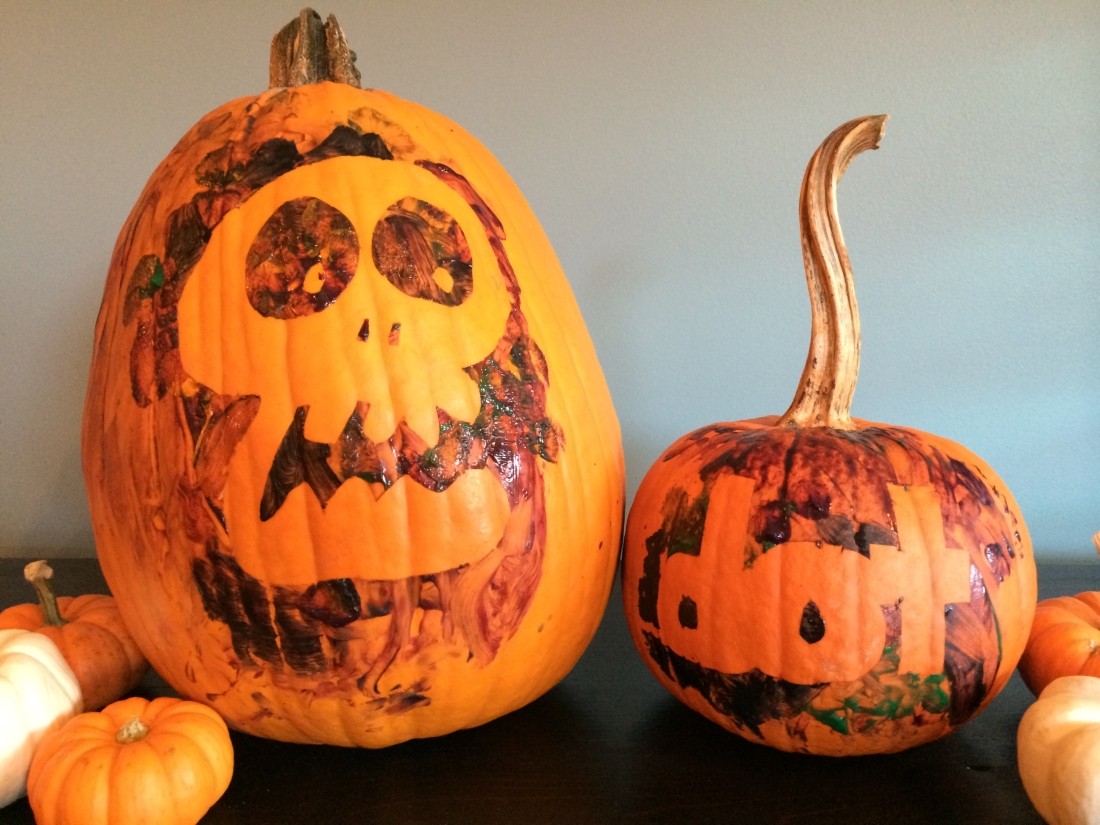
Creepy Carnival was enough to inspire us to dress our own home up for the holiday. Every family headed by Frankenstein needs a little Halloween decor, right? We headed to our local pumpkin stand, picked out our favorites and got a little messy to create our own Creepy Carnival mascot—Barker Bones! Now we’re the most festive house on the cul-de-sac. 😉
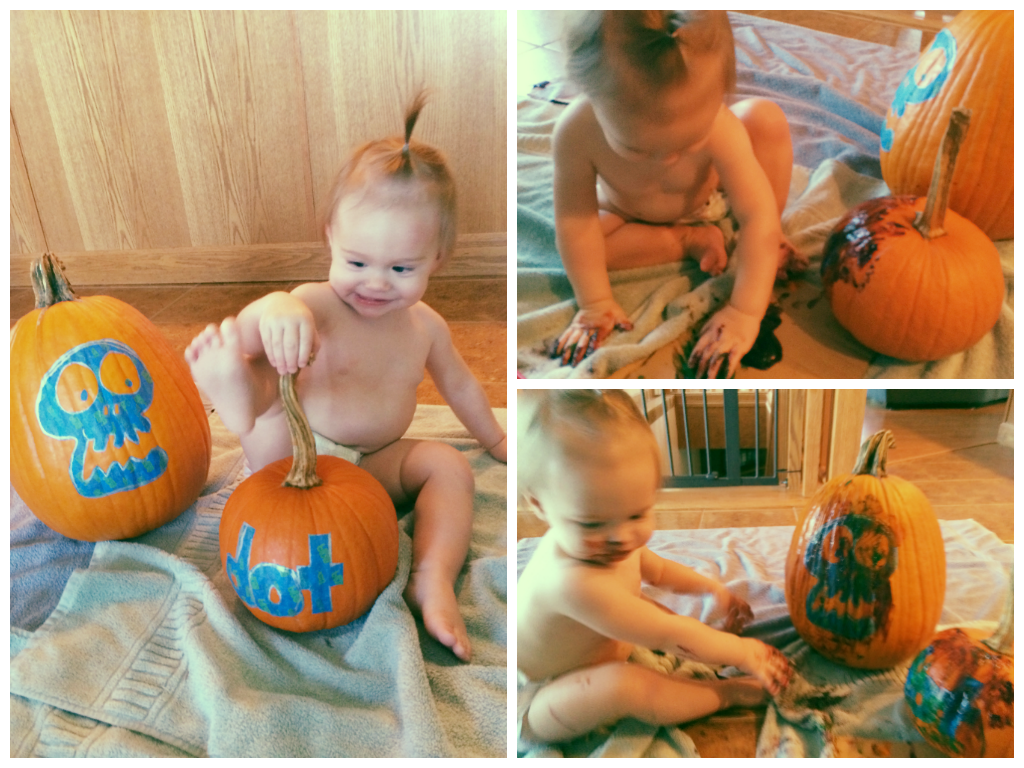
Instructions
- Use painter’s tape to cover your pumpkin (where you want your design to show).
- Draw your design directly on the painter’s tape. I free-handed this Barker Bones, but you can use the museum’s awesome Haunted House-Inspired templates!
- Use a razor blade to trace around your design, and remove the excess tape.
- Pour out the non-toxic finger paints, and let your little Picasso get to work!
- Once your little one has sufficiently covered themselves (and maybe the pumpkin) in paint, peel back the tape to reveal your masterpiece.
- If you plan to put your pumpkins outside, I recommend spraying the painted side with a clear acrylic sealant – just to make it waterproof!

Leave a Reply