My mother and I enjoy “junking.” This is not to be confused with antiquing. Antiquing implies you’re shopping for mint condition collectibles. Junking means you’re digging through old barns and at the back of salvage yards to find the diamonds in the rough.
Nearly every piece in my house was at one time considered junk. Everything has been repurposed, upcycled or DIY’ed. Do I consider my style “shabby chic?” Or “country rustic?” Absolutely not. But I find beauty in these rusty, old, painted, one-of-a-kind treasures. I guess I’ll call my style something along the lines of “modern farmhouse meets eclectic crap.” As in, I have a stained glass rooster in my kitchen and I kind of love it.
Yeah.
Some of your comments have inspired me to start a new series. I want to show you how inexpensive it can be to have that Restoration Hardware look with just a little bit of elbow grease. I want to give you the tips you may need to re-do your own furniture and create your own decor. I want to show you a few of our favorite junkin’ stores in central Indiana, and maybe a few places we’ve dreamed of visiting.
So, without further adieu, welcome to All About That JUNK. Coming at you now, and every Wednesday for the foreseeable future. 😉
—
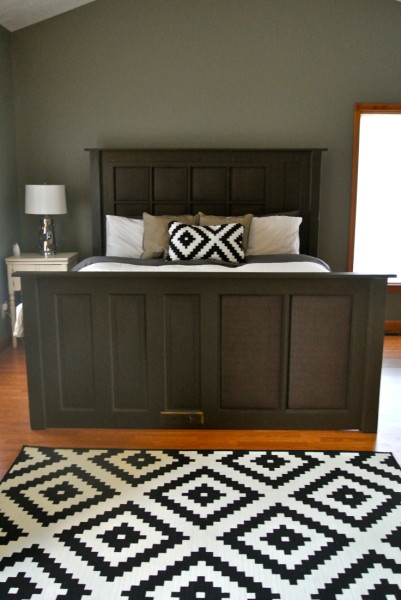
My husband and I graduated college in ’09/’10, and decided we needed a decent bed. We had diplomas, therefore we deserved a headboard. Problem was, we were still too poor for a bedroom suite. Womp, womp.
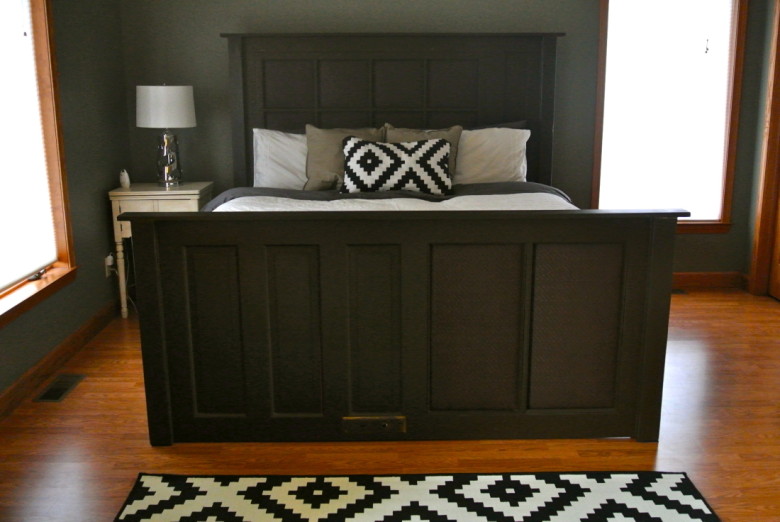
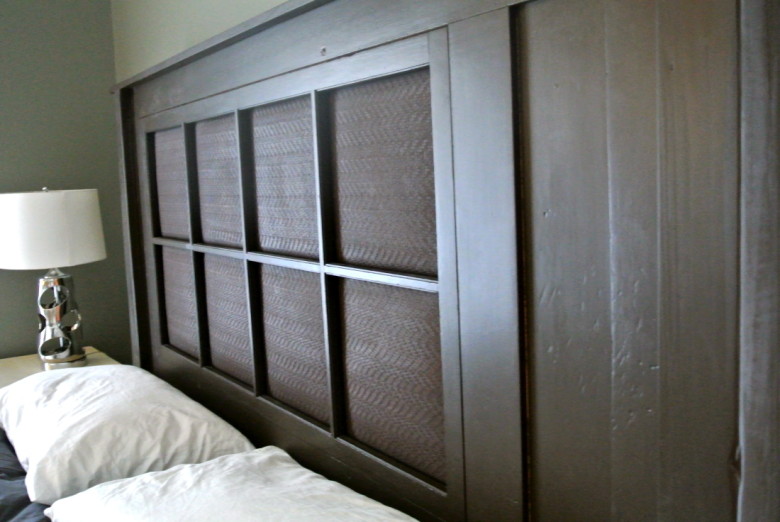
For whatever reason, around that time my grandfather was replacing a few doors in his home – a house that was a large part of my childhood. These original doors from 1949 were solid wood, in excellent unpainted condition, and were the perfect candidates for a king-sized bed frame.
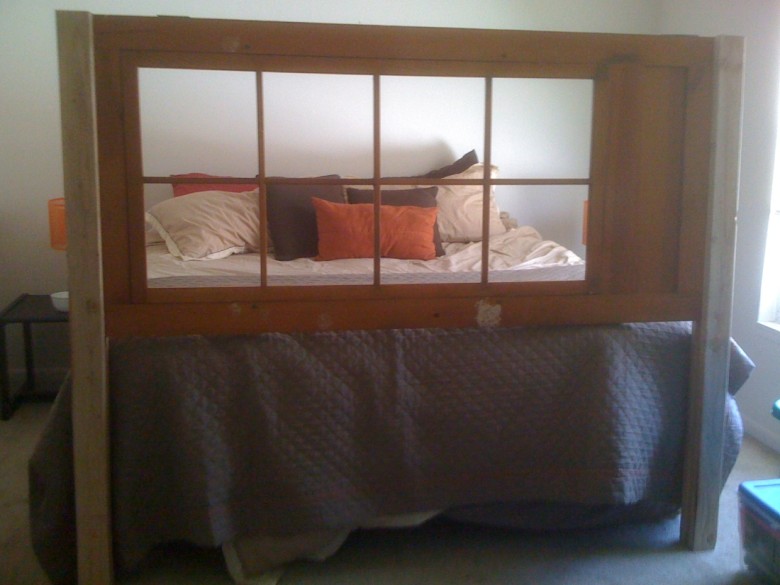
Obviously our doors needed some engineering to become a proper headboard and foot board. With the help of four 4x4s and some illegal work in the University of Indianapolis wood shop, we (read: my husband) had built ourselves a sturdy frame.
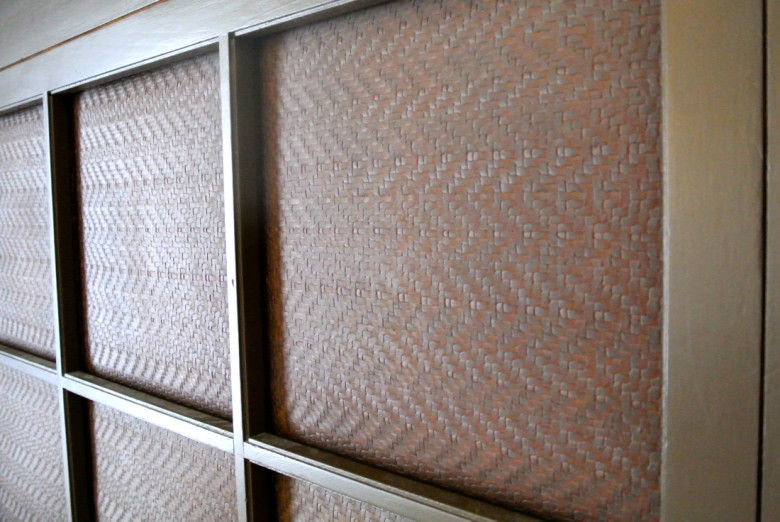
As you can see, once we had our frame prepped, we needed to fill the glass panes with something a little…softer. I managed to find a bolt of textured faux leather (on sale!) at Joann Fabric to match our paint color. We wrapped the fabric around some quilt batting and a plywood board, and stapled it into place. Then, we simply attached the covered plywood to the back side of our doors. If someday we want to change out the fabric, we can easily do so by just removing the panels.
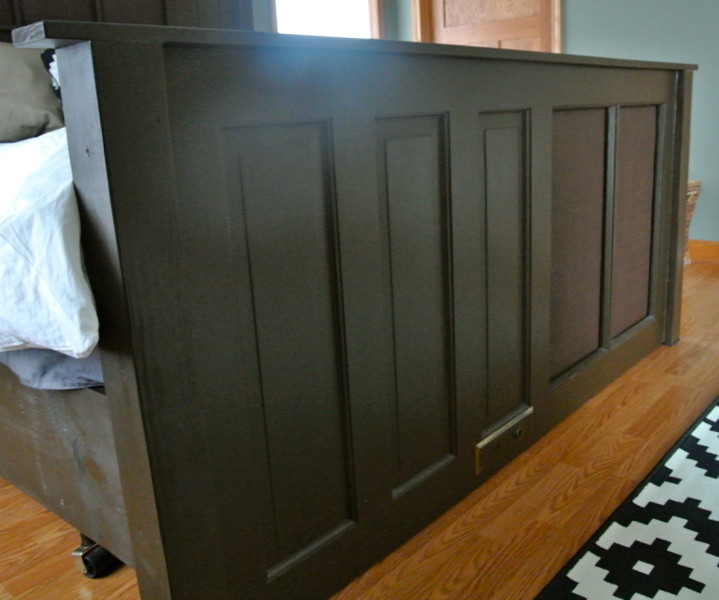
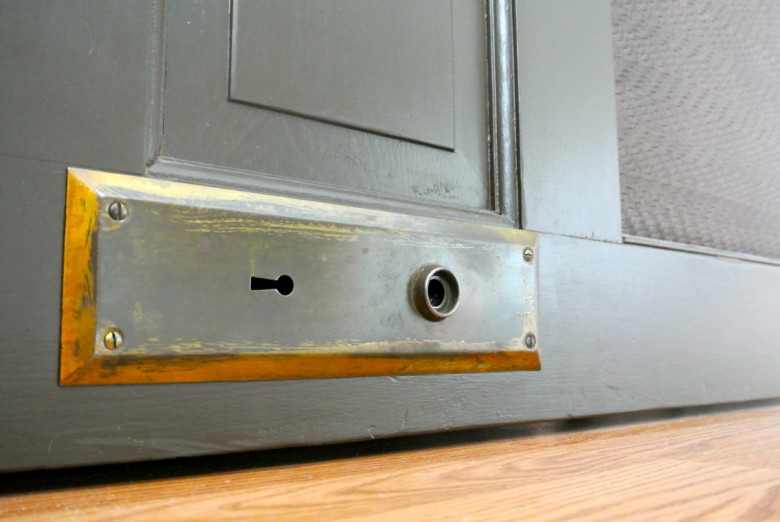
I wanted to keep the “door” characteristic in this piece, so we kept the original brass keyhole in the foot board. It may just be my favorite part of the whole bed.
So, a lot of sanding and a little paint later, and we have a custom-made bed that is sturdy enough to survive two apartments and two houses.
The best part about this project? We saved ourselves a TON of cash. Our bed cost approximately $100.
Or… you can buy the same thing online. For 100x the price.
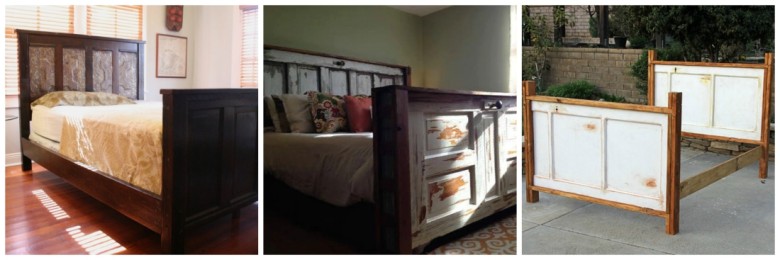 $1,900.00 | $1,800.00 | $820.00
Granted we did have access to power tools to make our lives easier, but there was nothing too incredibly difficult about this design. I can’t even imagine paying the above price PLUS SHIPPING for the exact same thing.
Cottens – 1, Etsy – 0.
—
So, what do you think? What kinds of pieces or tips do you want to see? Are you excited for the next crazy edition of All About That JUNK!?





Love the name 🙂 Can’t wait to see what you include in this series!
Wow, nicely done (the bed and the blog post)! We are not college students anymore but still don’t have a bed frame, with this post I might have gotten some ideas 😉
Do you have instructions for making a bed out of old doors? Interested in how to make the frame the mattress sets on. Thanks!
Hi, I would love to know what paint color you used on this bed!